Launching surojito.com: Setup Log & Honest Audit
📍 Charlotte, NC 📅 June 25, 2026 · 5 min read
Launching a personal site taught me that every blocked step is just a negotiation — with a tool, a credential, or a UI that wasn't designed with you in mind.
Everyone has a moment where they think: I should own my own corner of the internet. Not a LinkedIn post. Not a Medium article behind someone else’s paywall. A place that is fully, verifiably mine.
This is the log of how I built and deployed surojito.com — the actual steps, the wrong turns, and what I’d tell myself if I were starting over.
The goal
Build a static personal site with Astro, push it to a private GitHub repository, deploy it automatically to Cloudflare Pages, and connect it to the surojito.com domain I already own.
Simple on paper. Negotiated in practice.
The setup: what I was working with
- A Mac (hostname:
neo) - An Astro project already scaffolded locally
- A Cloudflare account with
surojito.comalready registered there - No
ghCLI installed - A brand-new GitHub account (
surojito-com) I had just created
That last point mattered more than I expected.
The steps, as they actually happened
1. Initialize git and make the first commit
git init
git add -A
git commit -m "Initial commit: surojito.com Astro site"
Before committing, I verified the .gitignore was excluding the right things: node_modules/, build output (dist/), screenshots, bookmarks exports, and private brand notes. Nothing sensitive went into the repo.
What I’d do differently: Set git config --global user.name and git config --global user.email before the first commit so the author identity is clean from the start.
2. Create the GitHub repository
Since gh CLI wasn’t installed, I used the GitHub web UI:
- New repository → name:
surojito.com→ Private → no README, no .gitignore, no license (the repo already had all of these)
The empty repo gave me the remote URL: https://github.com/surojito-com/surojito.com.git
3. Create a Personal Access Token
GitHub no longer accepts passwords for git push. You need a token.
Path: Profile photo → Settings → Developer settings → Personal access tokens → Tokens (classic) → Generate new token (classic)
Settings I used:
- Name:
surojito-neo(mac hostname as suffix — useful if you have multiple machines) - Expiration: 90 days
- Scope:
repoonly — nothing else needed for pushing code
Copy the token immediately. GitHub shows it exactly once.
The setback: I accidentally tried to run the token as a shell command in the terminal instead of pasting it at the password prompt. The terminal said command not found. That was a clarifying moment.
4. Push to GitHub
git remote add origin https://github.com/surojito-com/surojito.com.git
git push -u origin main
When prompted:
- Username:
surojito-com - Password: paste the token (the cursor won’t move — that’s normal)
Output when it works:
* [new branch]      main -> main
Branch 'main' set up to track 'origin/main'.
5. Deploy to Cloudflare Pages
This is where I learned that Cloudflare’s dashboard has two creation paths — Workers and Pages — and it’s easy to end up on the wrong one.
The correct path:
- Workers & Pages → Create application → Pages → Import an existing Git repository
- Connect GitHub account (
surojito-com), selectsurojito.comrepo → Begin setup - Build settings:
- Framework preset: Astro
- Build command:
npm run build - Build output directory:
dist
- Save and Deploy
Cloudflare built the site and gave me surojito-com.pages.dev as a preview URL. The build took about 90 seconds.
The wrong turn I took: I clicked “Create application” and landed on the Workers setup flow (which shows npx wrangler deploy as the deploy command). I went two screens deep before realizing. The fix was clicking Back twice and finding the Pages tab.
6. Connect the custom domain
Inside the Pages project: Custom domains → Set up a custom domain → surojito.com
Because the domain was already registered with Cloudflare, it auto-generated the correct DNS record:
| Type | Name | Content |
|---|---|---|
| CNAME | @ | surojito-com.pages.dev |
Clicked Activate domain. Status: Verifying → turns Active within minutes when the domain is already on Cloudflare.
The honest audit
| What went right | What slowed me down |
|---|---|
.gitignore was already solid | No gh CLI — had to use web UI + token |
| Cloudflare auto-detected the DNS setup | Landed on Workers flow instead of Pages twice |
| Astro preset filled in the build settings | Token confusion (ran it as a command) |
| Domain was already on Cloudflare — no wait | Git author identity not set before first commit |
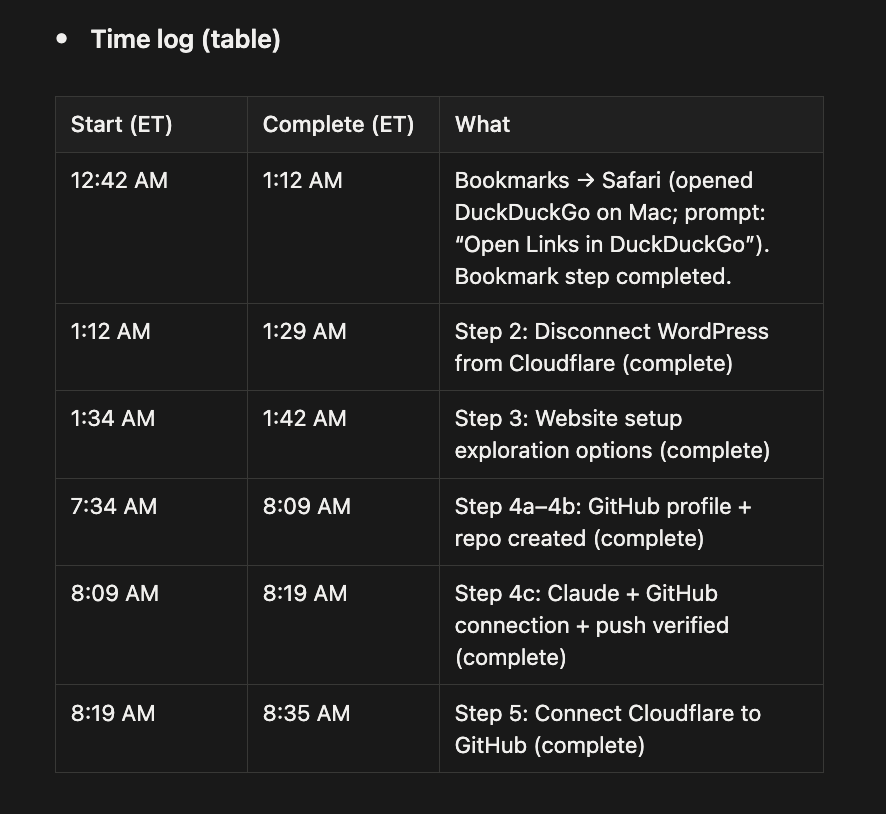
Total time: about 45 minutes, including the wrong turns.
The takeaway
Every blocked step in this process was a negotiation — not a failure. The terminal didn’t recognize my token as a command: that was the tool asking me to clarify where the token goes. The Cloudflare UI sent me to Workers instead of Pages: that was a UI that assumed I already knew the difference.
Non-native English speakers know this feeling. You say something, it lands wrong, and the instinct is to go quiet. But the right move — always — is to stay in the conversation and negotiate for clarity: rephrase, redirect, try the next door.
A personal site is the same. It takes a few wrong turns to find the right room. Now the room exists, and it’s mine.
Thank you for reading this far. One question: what’s the thing you’ve been meaning to publish somewhere you actually own — and what’s the one step that’s been blocking you?
Comments